

How to Fix a Blurry Customer Logo for Print: AI Vectorizing vs Manual Redraw
A shop-floor guide to turning a customer’s blurry logo into print-ready art, with the DPI math and a clear rule for when AI vectorizing is enough.
How do I fix a customer’s low-resolution logo for print?
Every shop gets this job sooner or later. A customer wants 200 shirts and sends their logo as a 400-pixel JPG pulled from their Facebook page. Here’s how to decide whether to vectorize it with AI, redraw it by hand, or just upscale it, and how to do each one well.
To fix a blurry customer logo, first ask for the original vector file. If none exists, then run flat-color logos through an AI vectorizer and clean up the result, which takes minutes. Redraw by hand when there’s tiny text, fine detail or heavy JPG damage. For photos printed by DTF or DTG, upscale to 300 dpi instead.
Updated November 2026 · By Steve, print shop owner and founder of Web2Ink
Why does a logo look fine on screen but print blurry?
A screen shows an image at about its own pixel size. A print, however, stretches those same pixels across inches of fabric or vinyl. The more you stretch, the bigger each pixel gets, until edges turn into stair steps.
The rule most printers work by is 300 pixels per inch (dpi) at final print size for apparel and small prints. Large-format signs and banners are viewed from farther away, so many sign shops work at 100 to 150 dpi at full size.
A raster file (JPG, PNG, GIF, most screenshots) is a grid of pixels, so it has a fixed amount of detail. A vector file (AI, EPS, SVG, many PDFs) on the other hand, stores shapes as math: points, curves and fills. As a result, you can scale a vector to a billboard and the edge stays sharp.
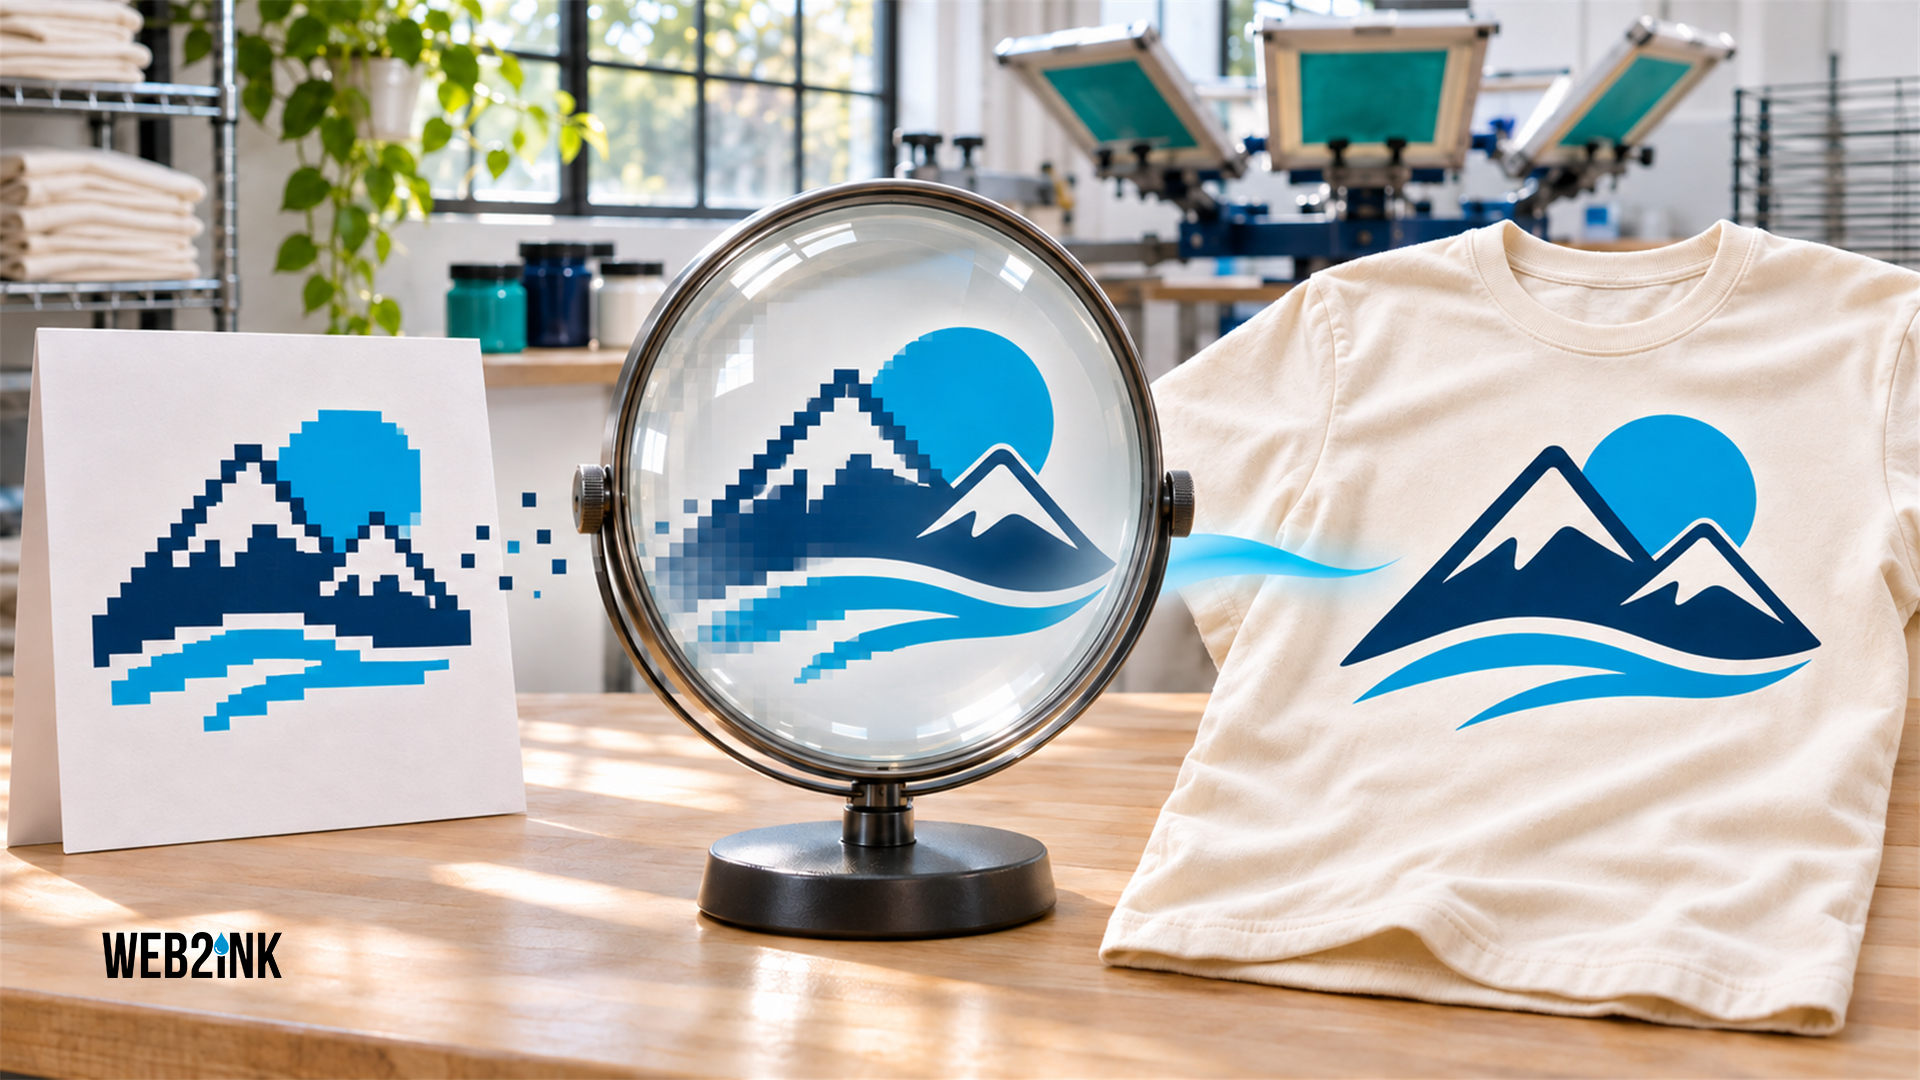
Raster, enlarged
Stair-step edges and fuzzy in-between colors from JPG compression.
Vector, enlarged
One smooth curve and one flat color, sharp at any size.
How big does the file need to be for my print size?
Multiply the print width in inches by the dpi you need. That is the minimum pixel width. Then divide the customer’s pixel width by the print width to see what they actually sent.
| Placement | Print width | Pixels needed | What a 500 px logo gives you |
|---|---|---|---|
| Left chest | 3.5 in | 1,050 px at 300 dpi | 143 dpi (soft, often visible) |
| Hat front (print or patch) | 4 in | 1,200 px at 300 dpi | 125 dpi |
| Full front | 12 in | 3,600 px at 300 dpi | 42 dpi (clearly blurry) |
| Yard sign | 24 in | 2,400 to 3,600 px at 100 to 150 dpi | 21 dpi |
| Banner | 72 in | 7,200 to 10,800 px at 100 to 150 dpi | 7 dpi |
The math for the full front is 12 x 300 = 3,600 pixels. But a 500-pixel logo covers only 500 / 12 = about 42 pixels per inch. No amount of sharpening fixes that, so you need new art.
Which fix does each decoration method need?
The right fix depends on how you’ll decorate, rather than just how bad the file looks.
| Method | What it needs | Best fix for a blurry logo |
|---|---|---|
| Screen printing | Vector, separated spot colors | Vectorize, then reduce to the exact ink colors |
| Vinyl and heat transfer vinyl | Vector cut paths | Vectorize, because a cutter can’t follow pixels. |
| Embroidery | A digitized stitch file | Vectorize for a clean source, then digitize. A vector is still not a stitch file. |
| DTF and DTG | Raster at 300 dpi, transparent background | Flat logo: vectorize and export a large PNG. Photo or painted art: upscale. |
| Sublimation | Raster at 300 dpi | Upscale photos, vectorize flat logos |
| Large format and signs | Vector preferred, raster OK at 100 to 150 dpi | Vectorize logos and text; upscale photo backgrounds |
In short: Flat colors and hard edges: vectorize. Photos, gradients and painted art: upscale. A vectorizer turns a photo into blotchy shapes, while an upscaler can’t make a logo truly crisp for a screen.
When is AI vectorizing good enough, and when should you redraw?
AI vectorizers have gotten good. For example, on a clean, flat logo they produce usable art in seconds. They still fail on certain files, and you need to know which ones before you promise a customer a price.
| Situation | AI vectorizer | Manual redraw |
|---|---|---|
| Simple 1 to 3 color logo, decent source | Usually great after light cleanup | Overkill |
| Text under about 1/4 inch tall in the source | Letters melt together | Retype with the matching font |
| Heavy JPG artifacts or a phone photo of a sign | Traces the noise | Redraw from scratch |
| Thin lines, fine detail, intricate crests | Lumpy curves, too many points | Clean, exact paths |
| Halftones or soft shadows | Poor | Rebuild as spot colors or halftone at output |
| Turnaround | Seconds to minutes | Minutes to hours |
A good middle path is to run the AI vectorizer first, then fix only the problem parts by hand. Retype the text in the right font, smooth any lumpy curves, and redraw the one emblem the tool mangled. Overall, that’s often a fraction of the time of a full redraw.
How do you fix a blurry customer logo, step by step?
- Check what you actually have. Open the file, then look at the pixel size and format. A PDF or EPS can still be a raster image inside. Finally, zoom to 400% and look for stair steps.
- Ask for the original first. Ask for an AI, EPS, SVG or PDF. If they don’t have it, ask who made their sign, vehicle wrap or business cards, since that vendor often has the vector file. This one question saves more art time than any tool.
- Pick the route by decoration method. Use the table above. For instance, screen print, vinyl and embroidery sources go to vector. In contrast, photos for DTF, DTG or sublimation go to the upscaler.
- Run the vectorizer or upscaler. Start from the biggest, cleanest version you can find. A logo copied from the customer’s website is often bigger than the one in their email signature.
- Clean it up. Merge near-identical colors down to your ink count, delete stray specks, retype text with the matched font, and finally check that small details survive at print size.
- Proof it at real size. Print it on paper at actual size or place it on a mockup. Then send the proof, get written approval, and confirm the customer has the right to use the logo.
- Save it for the reorder. Store the final vector in the customer’s account so next year’s order doesn’t start over.
What does this look like on a real job?
Take the case of a youth baseball league that orders 200 shirts: a 3.5-inch left chest and a 12-inch back. They send a 400 x 400 pixel JPG with three colors and the league name in small type.
- Check: 400 / 12 = about 33 dpi on the back. So it’s not printable as is.
- Ask: the league says a parent made the logo years ago, so no vector exists.
- Route: screen printing, three spot colors, so vectorize.
- Vectorize and clean: the AI result is good on the shapes, but the small league name is mushy. So retype it in the matching font, merge the colors down to three, and done.
- Proof and save: send a mockup of both placements, get approval, and save the vector to the league’s account for the fall order.
Now the cost side. For example, say your artist’s time costs you $50 an hour. A full manual redraw of this logo at 45 minutes costs you $37.50 in labor. By comparison, the vectorize-and-fix route at about 10 minutes costs you about $8. So whatever you charge for art, the faster route keeps more of it. On a 200-shirt order, that’s also one less day before you can burn screens.
These times are examples rather than benchmarks. Track your own for a month and you’ll know exactly when to redraw and when to vectorize.
How do you stop getting blurry logos in the first place?
The best fix is catching bad art before it reaches your artist.
- Flag low-quality uploads at the door. An online designer that warns the customer when an upload is too small for the print size gets you a better file before the order is placed. Web2Ink’s designer does this.
- Give customers the fix themselves. Web2Ink’s built-in image vectorizer and upscaler let a customer turn a low-res logo into usable art while they design.
- Put file rules on the quote form. One line helps: “Vector files (AI, EPS, SVG, PDF) preferred. Images should be at least 3,600 pixels wide for a full front.”
- Keep every final file. Saved designs and one-click reorders mean you fix a logo once, not every season.
If you’re not on Web2Ink, the same team also runs GetPrintFiles (getprintfiles.com), a standalone AI image vectorizer service for print-ready files. Adobe Illustrator’s Image Trace and Inkscape’s free Trace Bitmap also work on simple logos, with more manual cleanup.
After all, pricing art work is part of pricing the whole job. Web2Ink’s instant price quoter can show setup and art charges on the product page, and you can see the designer and vectorizer on the features page.
Stop redrawing the same logo twice
Web2Ink flags poor-quality uploads, vectorizes and upscales customer art, and saves every design for one-click reorders. See it working on a real print shop site.
Frequently asked questions
What resolution does a logo need for printing on a shirt?
Aim for 300 dpi at the final print size. A 12-inch full front needs a file at least 3,600 pixels wide, and a 3.5-inch left chest needs about 1,050 pixels. Vector files avoid the problem because they scale to any size.
Can I just upscale a blurry logo instead of vectorizing it?
For DTF, DTG or sublimation, upscaling can work, especially for photos. For screen printing, vinyl and embroidery you need clean shapes and spot colors, so vectorizing is the better fix. However, upscaling can’t make a flat logo truly crisp for a screen.
Is an AI vectorizer good enough for screen printing?
For simple one to three color logos with a decent source, yes, after a quick cleanup of colors and stray points. But small text, fine lines and heavily compressed JPGs usually need manual fixes or a full redraw.
Is a vector file the same as an embroidery file?
No. Instead, embroidery machines need a digitized stitch file that sets stitch types, direction and density. A clean vector makes a much better starting point for the digitizer, but it is not the stitch file.
How do I tell if a customer’s PDF or EPS is really vector?
Zoom in to 400% or more. If the edges stay sharp, it’s vector. But if you see pixels or blur, it’s a raster image saved inside a vector format and needs the same fix as a JPG.
What should I charge to vectorize a customer’s logo?
Base it on your real time. Track how long vectorize-and-cleanup jobs take compared to full redraws, multiply by your hourly labor cost, and add margin. Also, many shops waive the fee on larger orders and save the file for reorders.
About Web2Ink: Web-to-print platform and custom websites for screen printers, embroiderers, DTF and sign shops, with an online designer, instant quoting and company stores. From $79/mo. Based in Charlotte, North Carolina.
Web2Ink supports third-party integrations and can also provide custom development for workflows that require a specialized connection. The exact integration scope should be confirmed during discovery.
popular articles
Share this article
Build a better print shop website.
Get a modern, high-performing website designed for print businesses.
RELATED ARTICLES
Keep learning. Keep growing.
More practical ideas to help you run a stronger, more successful print shop.
Put these ideas to work for your shop.
See how Web2Ink can help you sell more print online and grow your business.
